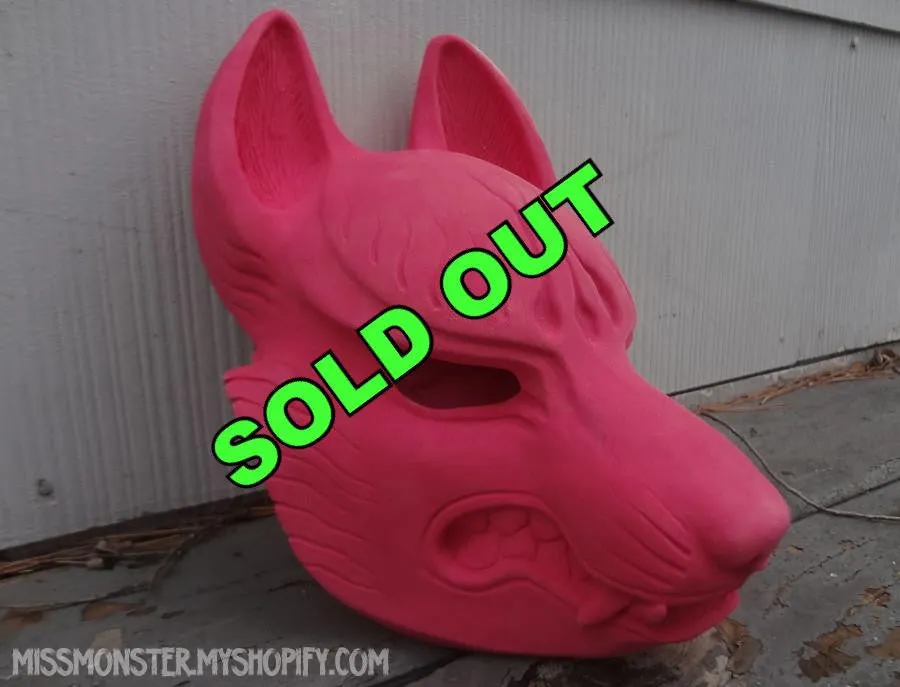
LIMITED EDITION: Once this page reads "sold out" this version of this mask design will not be available. Please do not message to ask for an exception as it will not be answered. I am not open for commissions.
This is the second and last edition if the very popular DIY kitsune resin mask design. This is a PRE-ORDER which means there will be a wait of 3-6 weeks until your mask is sent out. Please do not purchase this if you are uncomfortable with waiting or need it for an event next week!
Please read everything below carefully before you purchase this mask:
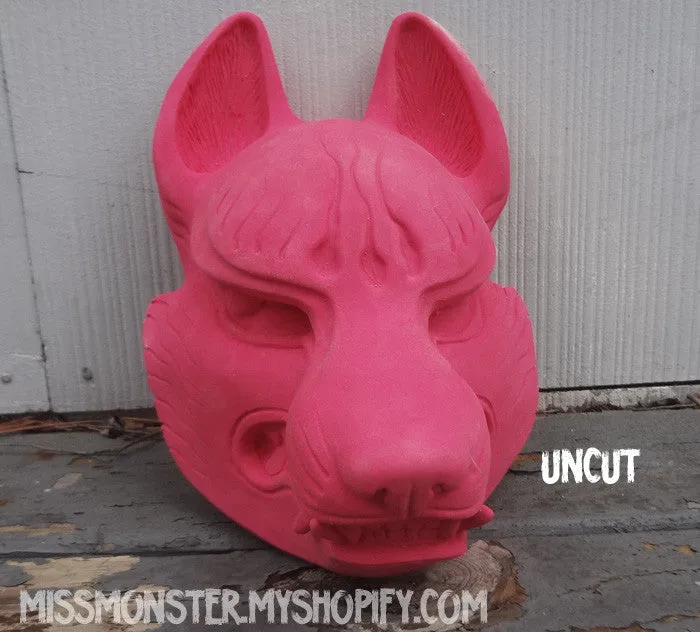
-You will receive a BLANK unfinished resin mask with a red tint.
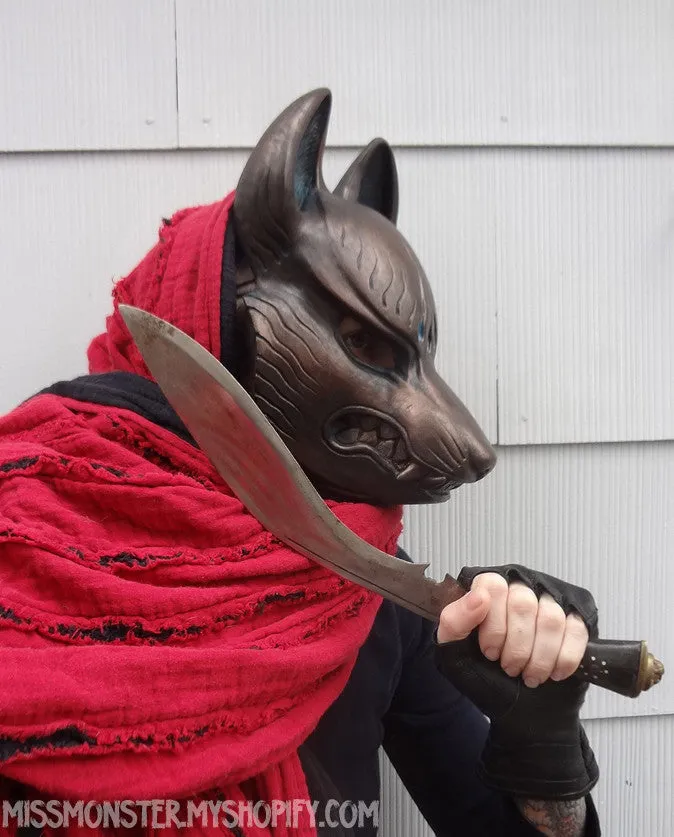
-This is a BLANK DIY (DO IT YOURSELF) resin mask. It can be painted with acrylics, added to with epoxy clay or whatever preferred material, sanded, cut and otherwise modified to fit your personal tastes. Attach elastic straps and it can be worn or just displayed on the wall as an art piece.
Please choose between a CUT DIY or RAW CAST DIY:
- RAW CAST DIY means it's pulled from the mold and sent as is. No drilled eyes or flash edge trimming. Clean up and dremel work will be the customers responsibility hence the lower price... less work for me. Unpainted blank resin mask. I recommend a dremel tool with a tile cutting bit to drill out the eye holes.
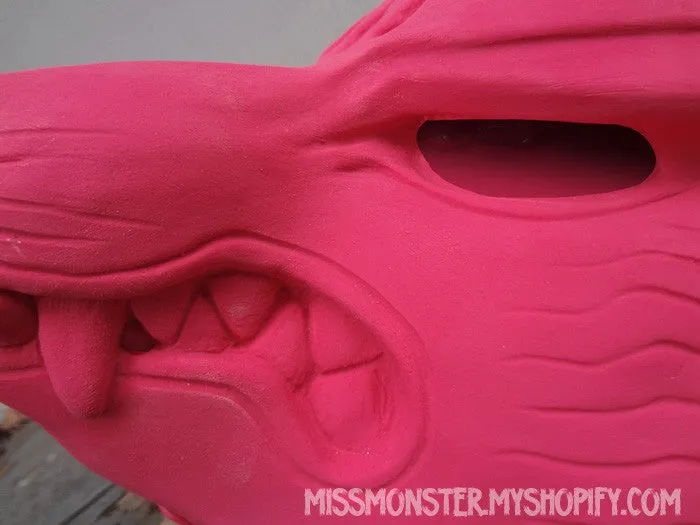
-CUT DIY means the mask's eyes are drilled open and the edges have been smoothed. Some pinhole filling and finishing may be required but its basically ready to paint. Unpainted blank resin mask.
------
Tips:
- The backs of the ears are open due to the mold style and can be filled with from smooth-on or any other light weight material if you want them to have a "closed" effect.
- I use flat elastic bands with bras strap slides for an adjustable fit ( not included ) Epoxy or high heat hot glue can be used to attach the straps to the mask, score the resin surface first with a utility knife.
-You may want to brush some rubbing alcohol on the mask before painting. This will get rid of any lingering mold release that can make painting difficult. Applying a spray primer will also help paint stick to the surface better and using a tinted primer will allow you to change the base color if you desire.
-Please do not purchase this item if you are unsure of what to do to finish it. I can not personally assist buyers with this project.
------
-ONE SIZE FITS MOST:
This mask can accommodate a variety of facial sizes and shapes but a perfect fit is not guaranteed. You may have to expand the mask for a better fit. You can do so using heat.
-Warm the plastic with a hair dryer/heat gun on high or on VERY low temp in your home oven ( place on cookie sheet and on a supportive bowl or cookware so the mask does not warp under it's own weight)
- Only heat for around 5 minutes.
-Gently pull the mask sides apart while warm until you get the fit you want. Let the mask cool to set the shape.
- Once you get the shape you want you can reinforce the sides of the mask with a thin layer of or other lightweight epoxy putty ( ask for wood filler putty at the hardware store)
-----


